Drupal runs on a web server like Apache, IIS, Lighttpd, Cherokee, Nginx and a backend databases MySQL, MongoDB, MariaDB, PostgreSQL, SQLite, MS SQL Server.
In this article, we will show how to perform a manual installation and configuration of Drupal 8 on RHEL 7/6, CentOS 7/6 and Fedora 20-25 distributions using LAMP setup.
Drupal Requirement:
- Apache 2.x (Recommended)
- PHP 5.5.9 or higher (5.5 recommended)
- MySQL 5.5.3 or MariaDB 5.5.20 with PHP Data Objects (PDO)
Step 1: Installing Apache Web Server
- First we will start with installing Apache web server from the official repositories:
3. Next, in order to allow access to Apache services from HTTP and HTTPS, we have to open 80 and 443 port where the HTTPD daemon is listening as follows:
4. Now verify that Apache is working fine, open a remote browser and type your server IP Address using HTTP protocol in the URL:http://server_IP, and the default Apache2 page should appear as in the screenshot below.
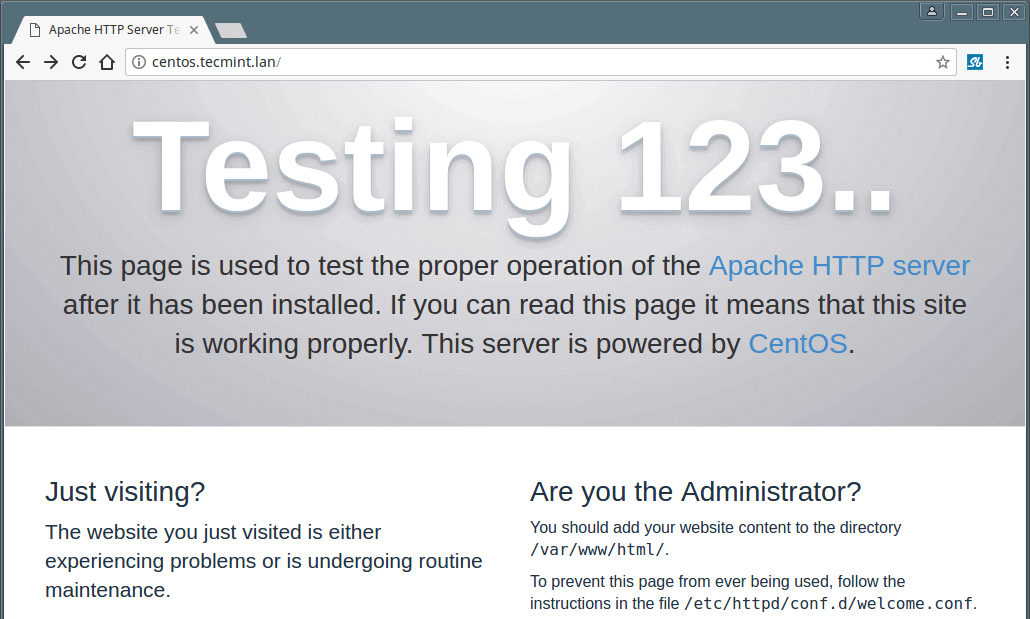
Apache Default Page
Step 2: Install PHP Support for Apache
5. Next, install PHP and the required PHP modules.
Important: If you want to install PHP 7.0, you need to add the following repositories: EPEL and Webtactic in order to install PHP 7.0 using yum:
6. Next, to get a full information about the PHP installation and all its current configurations from a web browser, let’s create a info.php file in the Apache DocumentRoot (/var/www/html) using the following command.
then restart HTTPD service and enter the URL http://server_IP/info.php in the web browser.

Verify PHP Information
Step 3: Install and Configure MariaDB Database
7. For your information, Red Hat Enterprise Linux/CentOS 7.0 moved from supporting MySQL to MariaDB as the default database management system.To install MariaDB database, you need to add the following official MariaDB repository to file /etc/yum.repos.d/MariaDB.repo as shown.
Once the repo file in place you can able to install MariaDB like so:
8. When the installation of MariaDB packages completes, start the database daemon for the mean time and enable it to start automatically at the next boot.
9. Then run the
mysql_secure_installation script to secure the database (set root password, disable remote root login, remove test database and remove anonymous users) as follows:
Mysql Secure Installation
Step 4: Install and Configure Drupal 8 in CentOS
10. Here, we will start by downloading the latest Drupal version (i.e 8.2.6) using the wget command. If you don’t have wget and gzip packages installed, then use the following command to install them:
11. Afterwards, let’s extract the tar file and move the Drupal folder into the Apache Document Root (
/var/www/html).
12. Then, create the settings file
settings.php, from the sample settings file default.settings.php) in the folder (/var/www/html/drupal/sites/default) and then set the appropriate permissions on the Drupal site directory, including sub-directories and files as follows:
13. Importantly, set the SELinux rule on the folder “/var/www/html/drupal/sites/” as below:
14. Now we have to create a database and a user for the Drupal site to manage.
MySQL Shell
15. Now finally, at this point, open the URL:
http://server_IP/drupal/ to start the web installer, and choose your preferred installation language and Click Save to Continue.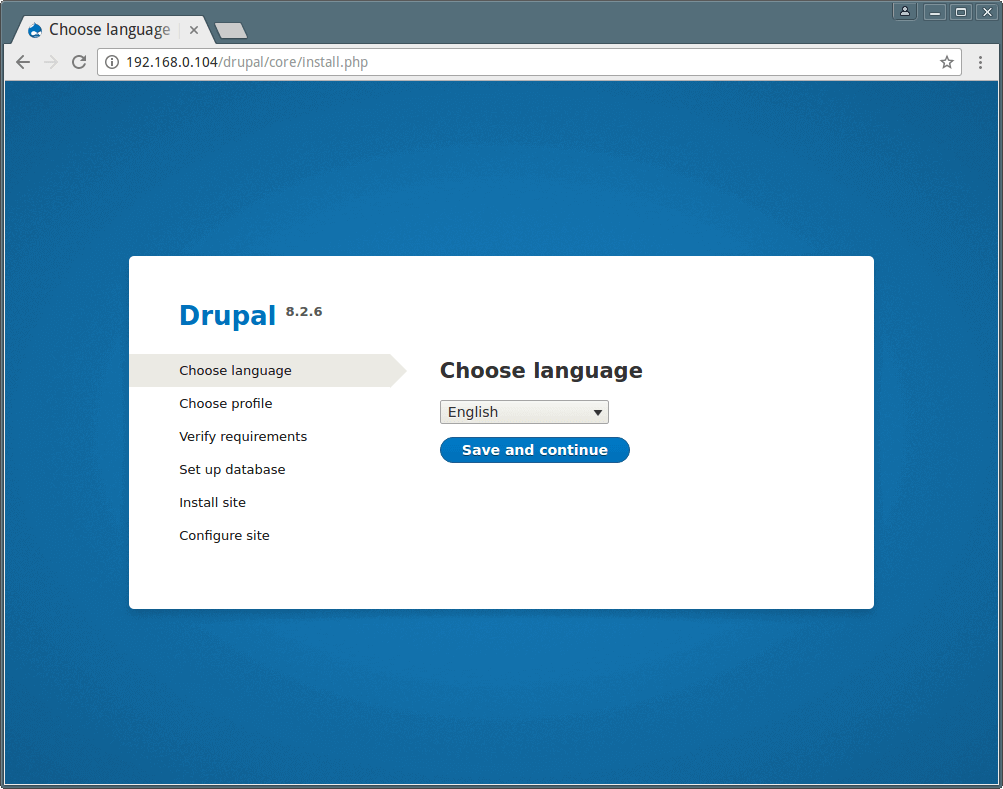
Drupal Installation Language
16. Next, select an installation profile, choose Standard and click Save to Continue.

Drupal Installation Profile
17. Look through the requirements review and enable clean URL before moving forward.
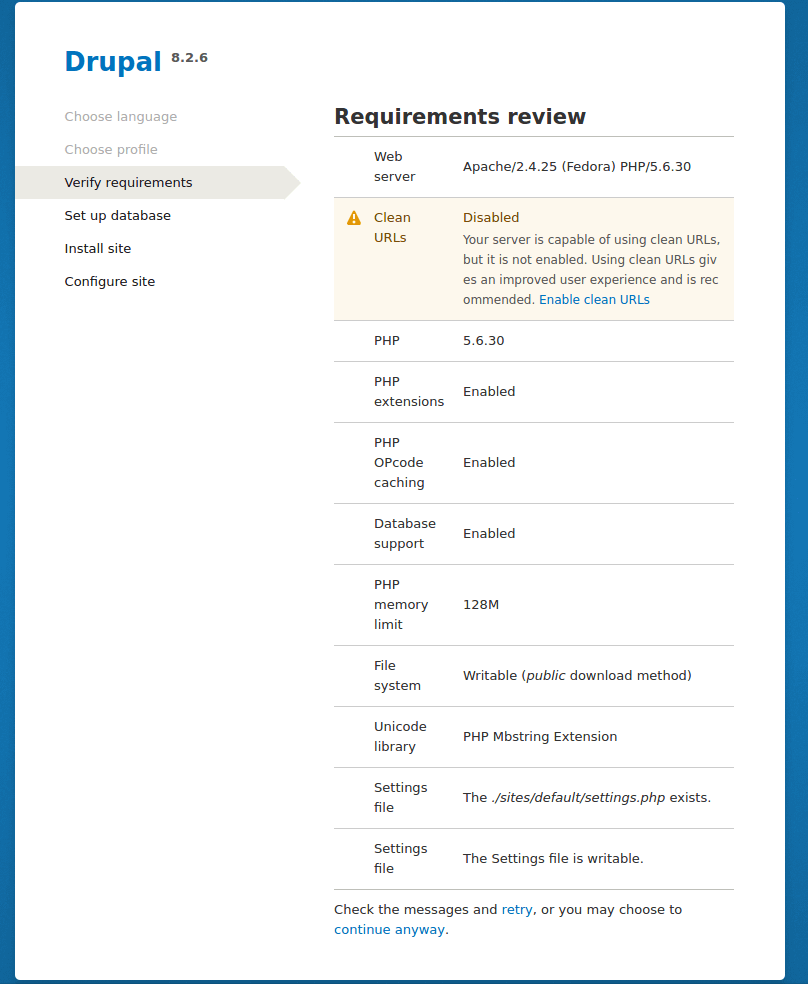
Verify Drupal Requirements
Now enable clean URL drupal under your Apache configuration.
Make sure to set AllowOverride All to the default DocumentRoot /var/www/html directory as shown in the screenshot below.
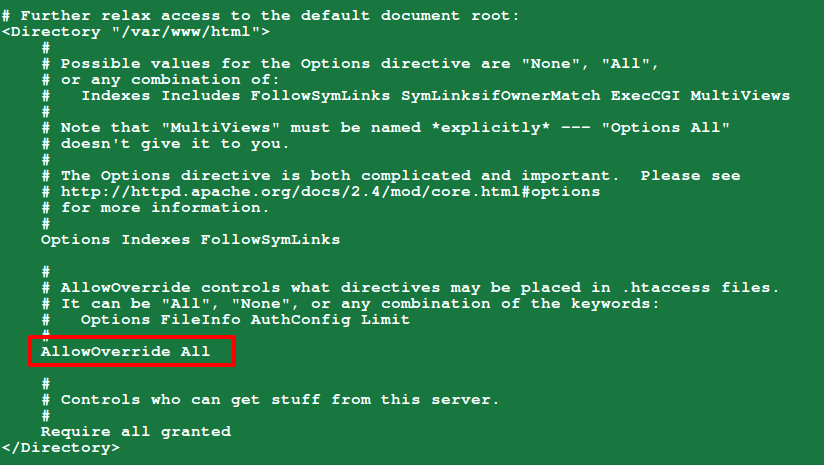
Enable Clean URL in Drupal
18. Once you enabled clean URL for Drupal, refresh the page to perform database configurations from the interface below; enter the Drupal site database name, database user and the user’s password.
Once filled all database details, click on Save and Continue.
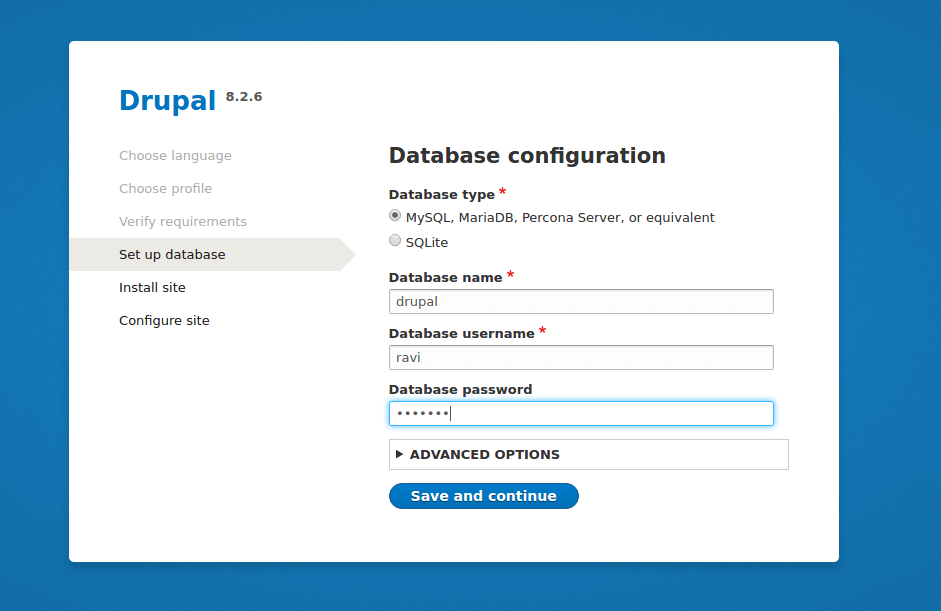
Drupal Database Configuration
If the above settings were correct, the drupal site installation should start successfully as in the interface below.

Drupal Installation
19. Next configure the site by setting the values for (use values that apply to your scenario):
- Site Name – TecMint Drupal Site
- Site email address – admin@tecmint.com
- Username – admin
- Password – ##########
- User’s Email address – admin@tecmint.com
- Default country – India
- Default time zone – UTC
After setting the appropriate values, click Save and Continue to finish the site installation process.

Drupal Site Configuration
20. The interface that follows shows successful installation of Drupal 8 site with LAMP stack.
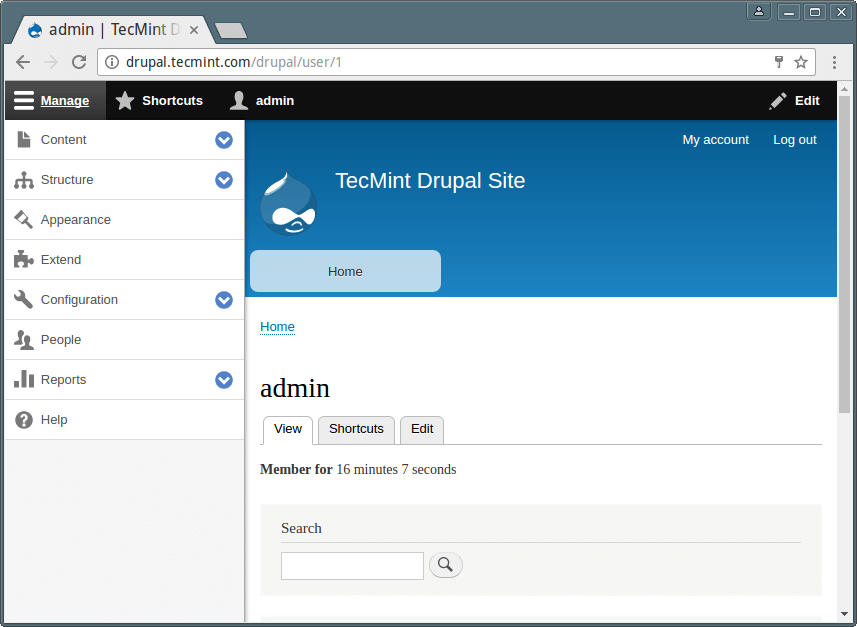
Drupal Site Dashboard

